Hello again. I have been busy with creating new products for the Geek Boutique. Just sent off my box today, so I can breath now *sigh.* I haven’t had much blogging time, but I did take some ME time.
I’ve been wanting to make some comic book shoes for months now. After my first “practice” pair fell apart =( But in their defense, they were as old as my daughter, who recently turned 10, woo-hoo!
 They turned out pretty good for a first timer (notice the wet Modge Podge, lol, guess I jumped the photo gun). I didn’t have any shoe paint, so I used nail polish. Let’s just say, I now know why manicurists wear face masks, PHEW!
Supplies-
Shoes
Comic books
Scissors
Modge Podge
Paint brush
Fine steal wool
nail buffer
Luster Modge Podge sealant spray (optional)
glitter (optional)
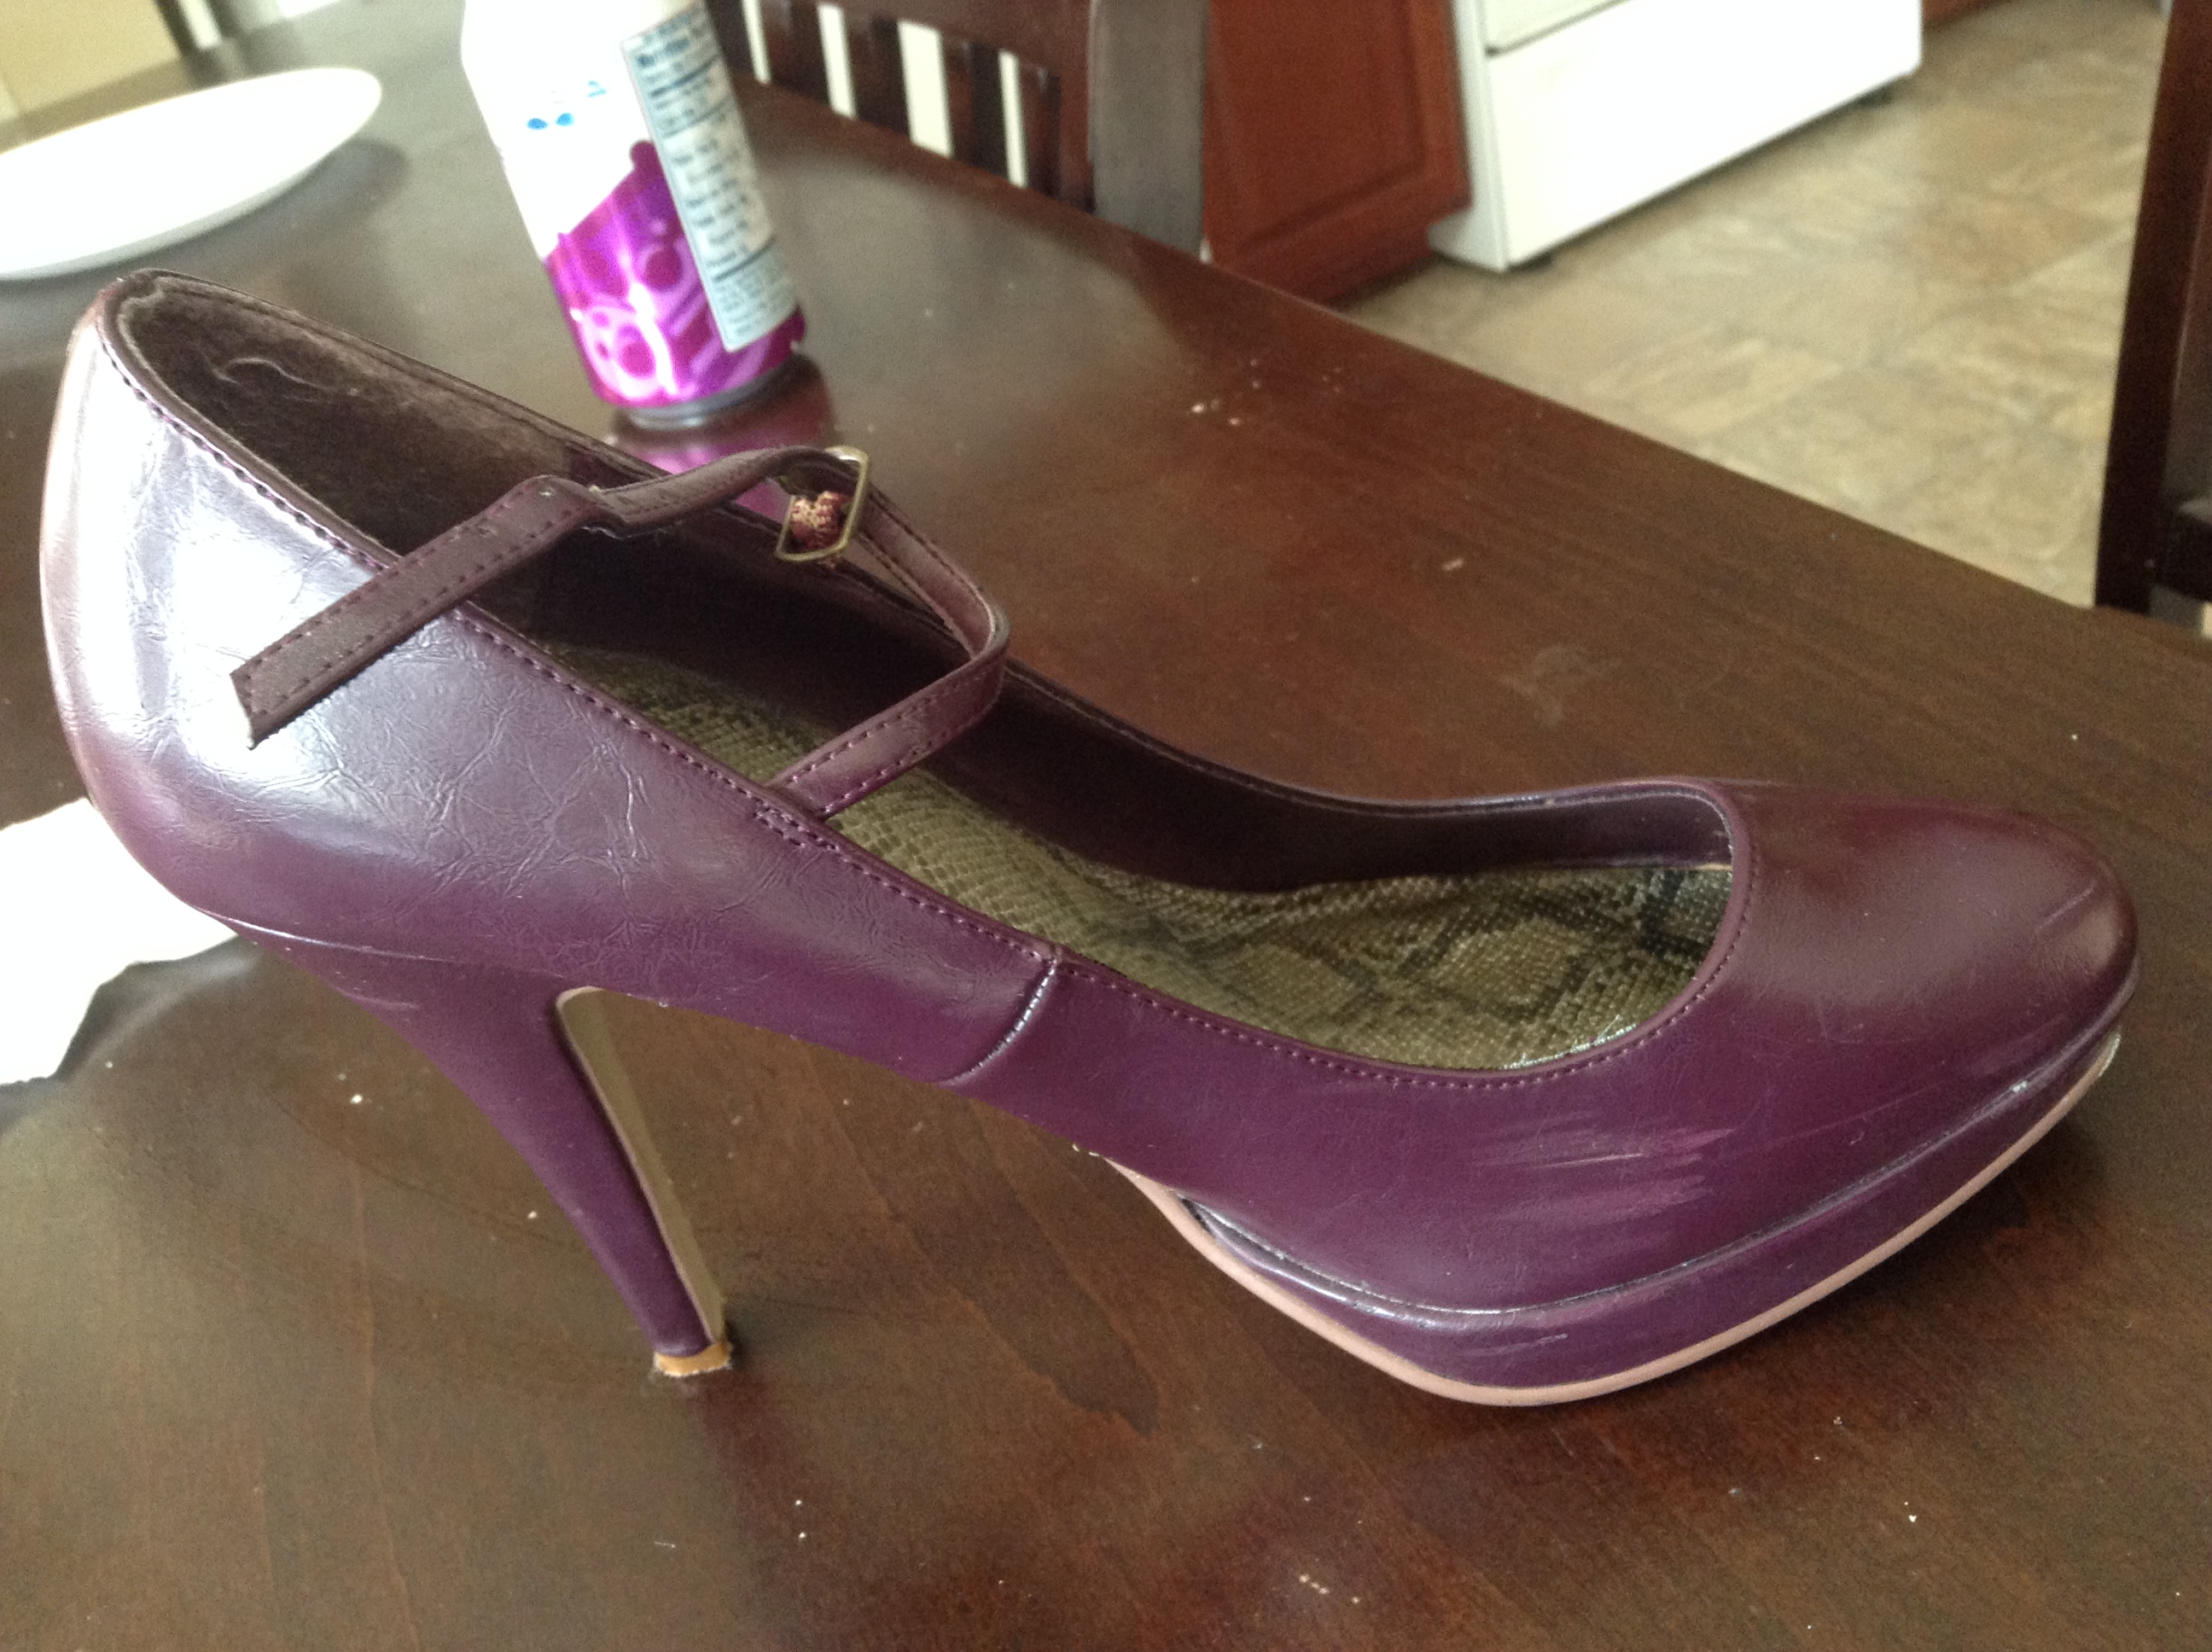
Step one- pick a pair of shoes. Bit of advice, break your shoes in, if they’re new, because the process of comic booking them will stiffen them up. Make sure they are nice and clean.
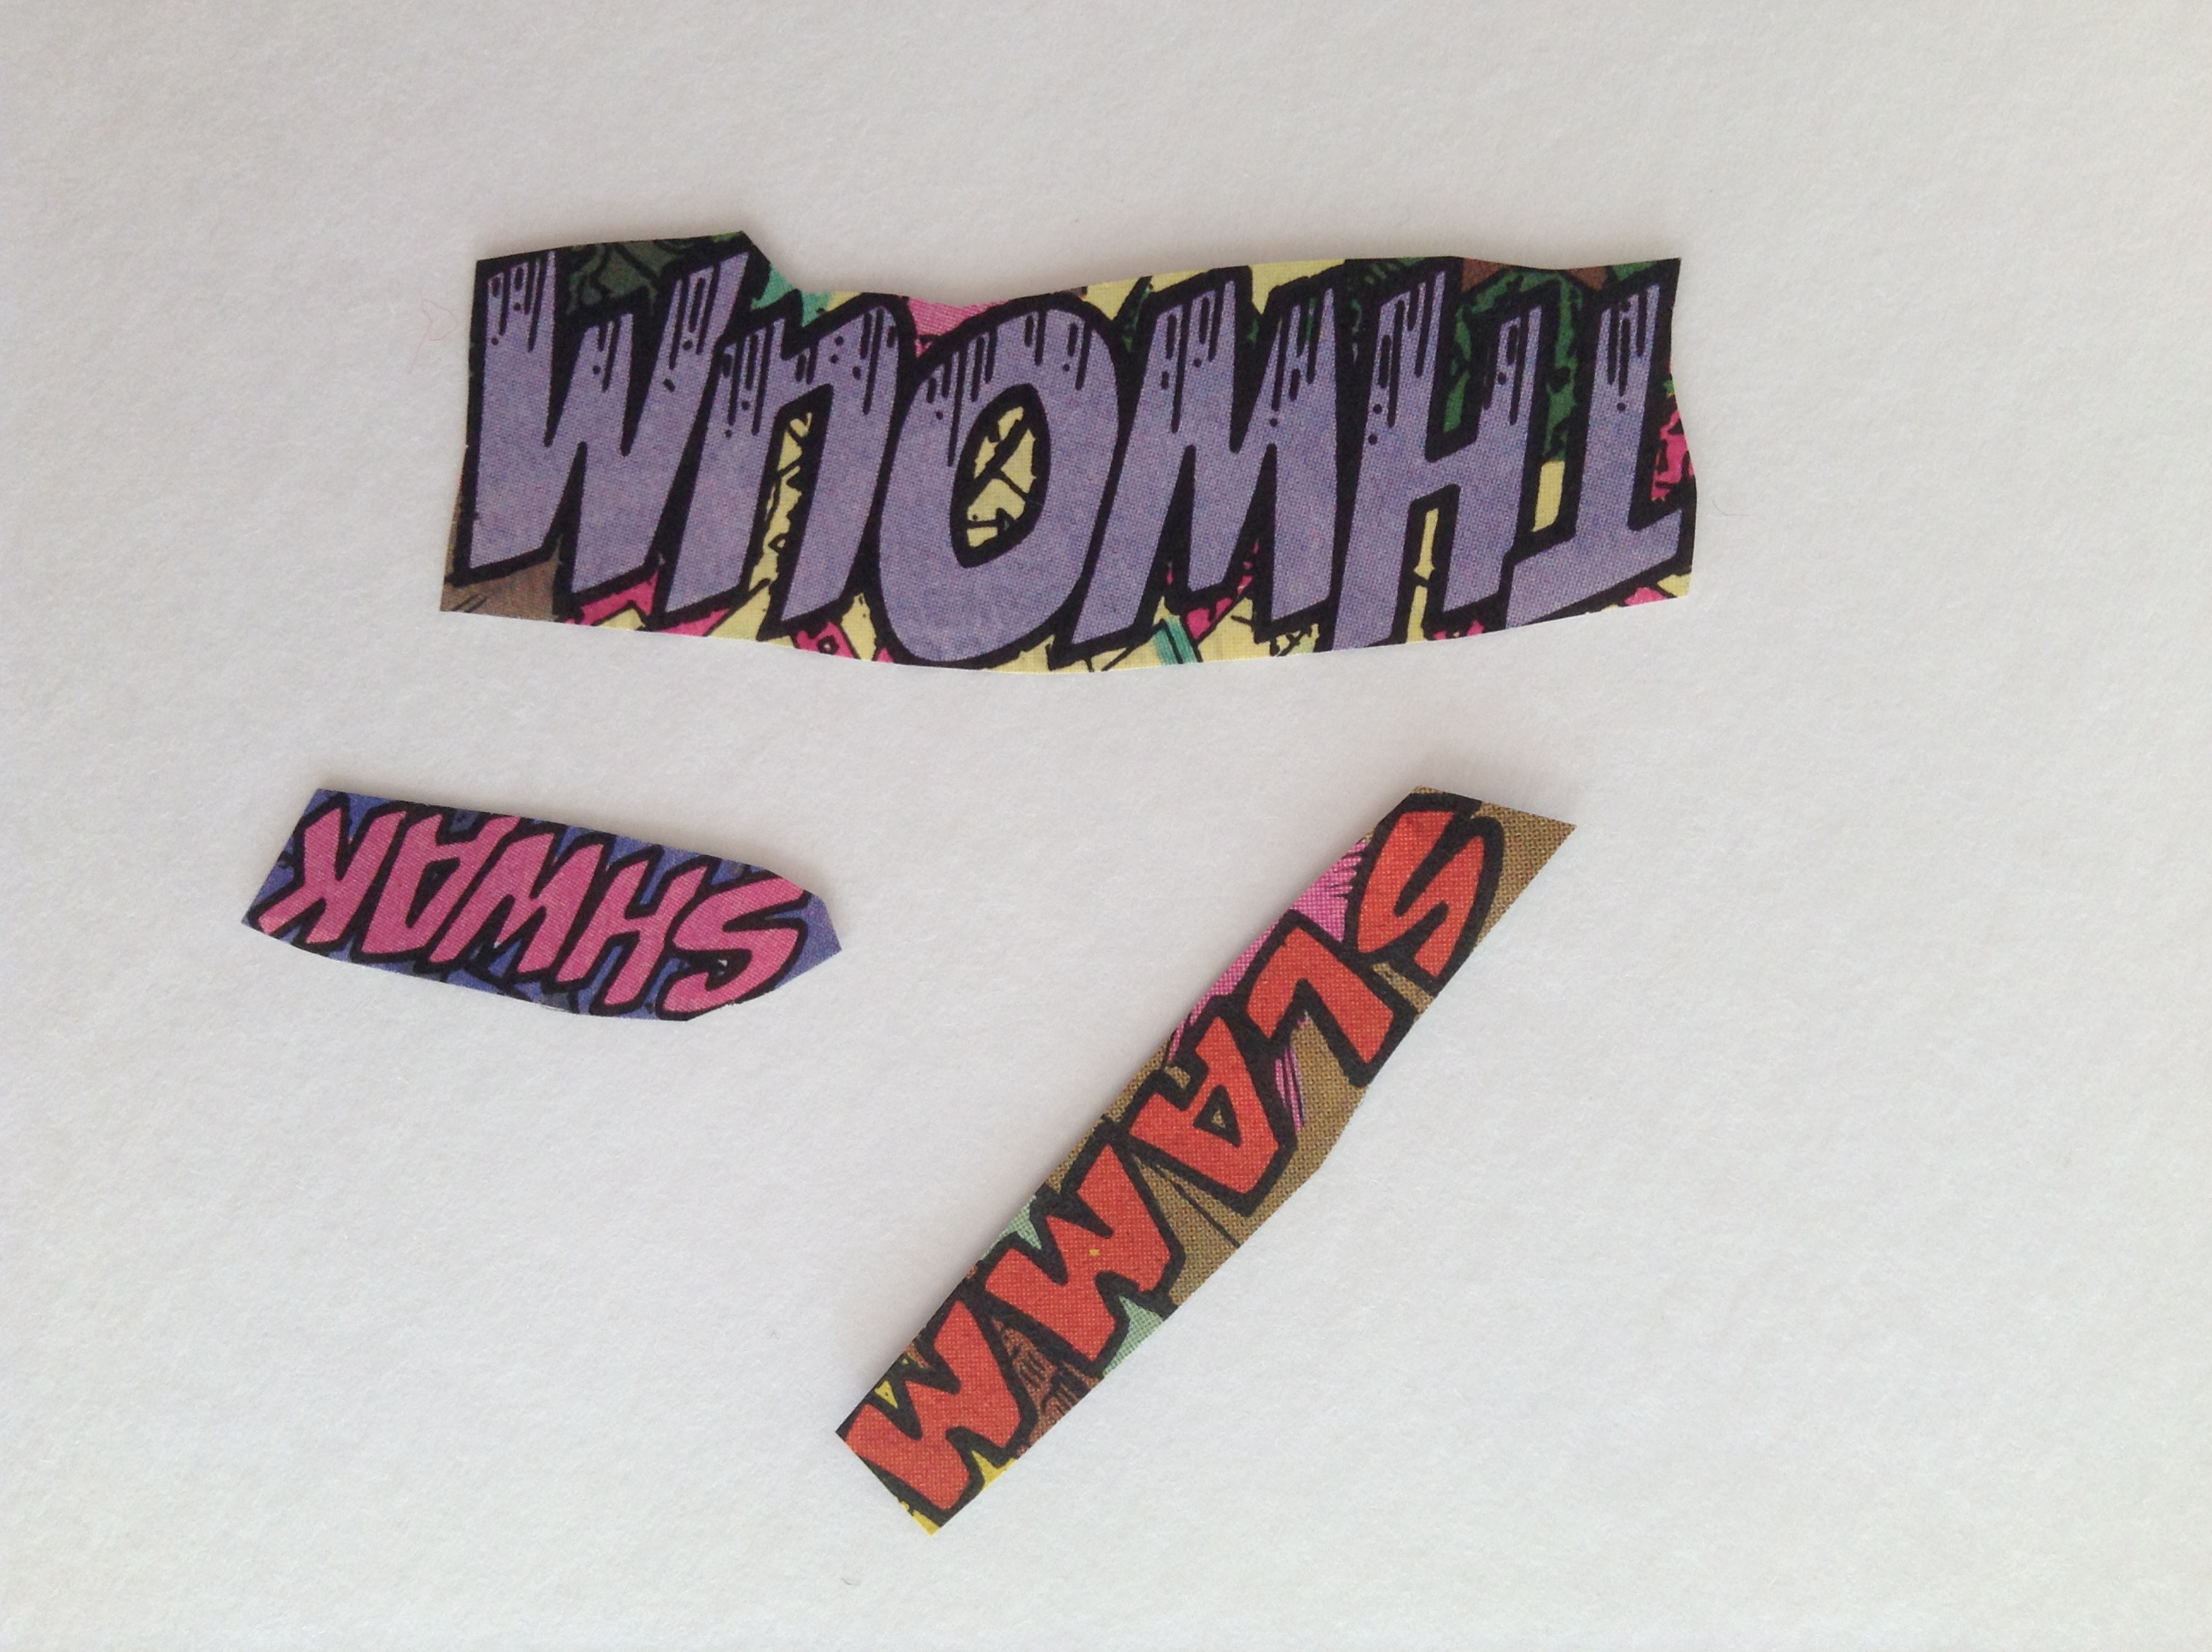
Step two- cut your comic books into geometric shapes. You will be piecing these together on your shoe, I went with triangles, rectangles and parallelograms. Cutting up GOOD comic books can send any comic lover to tears. I found lesser known comics at my local Dollar Tree, and purchased some extremely used, beat up ones at a flea market for 0.50 to $2. Pick some good “POW,” WHOOSH,” and “ZOOM” bubbles for focal points on your shoes.


 Step three- using Modge Podge, and a paint brush, apply comic shapes to the shoe, piece by piece. There is no “fast” way to do this. Take your time to avoid ripping, slipping, and bubbles. I covered my entire shoe except for the strap. Some like to leave the heel and platform un-comiced, it’s up to you.
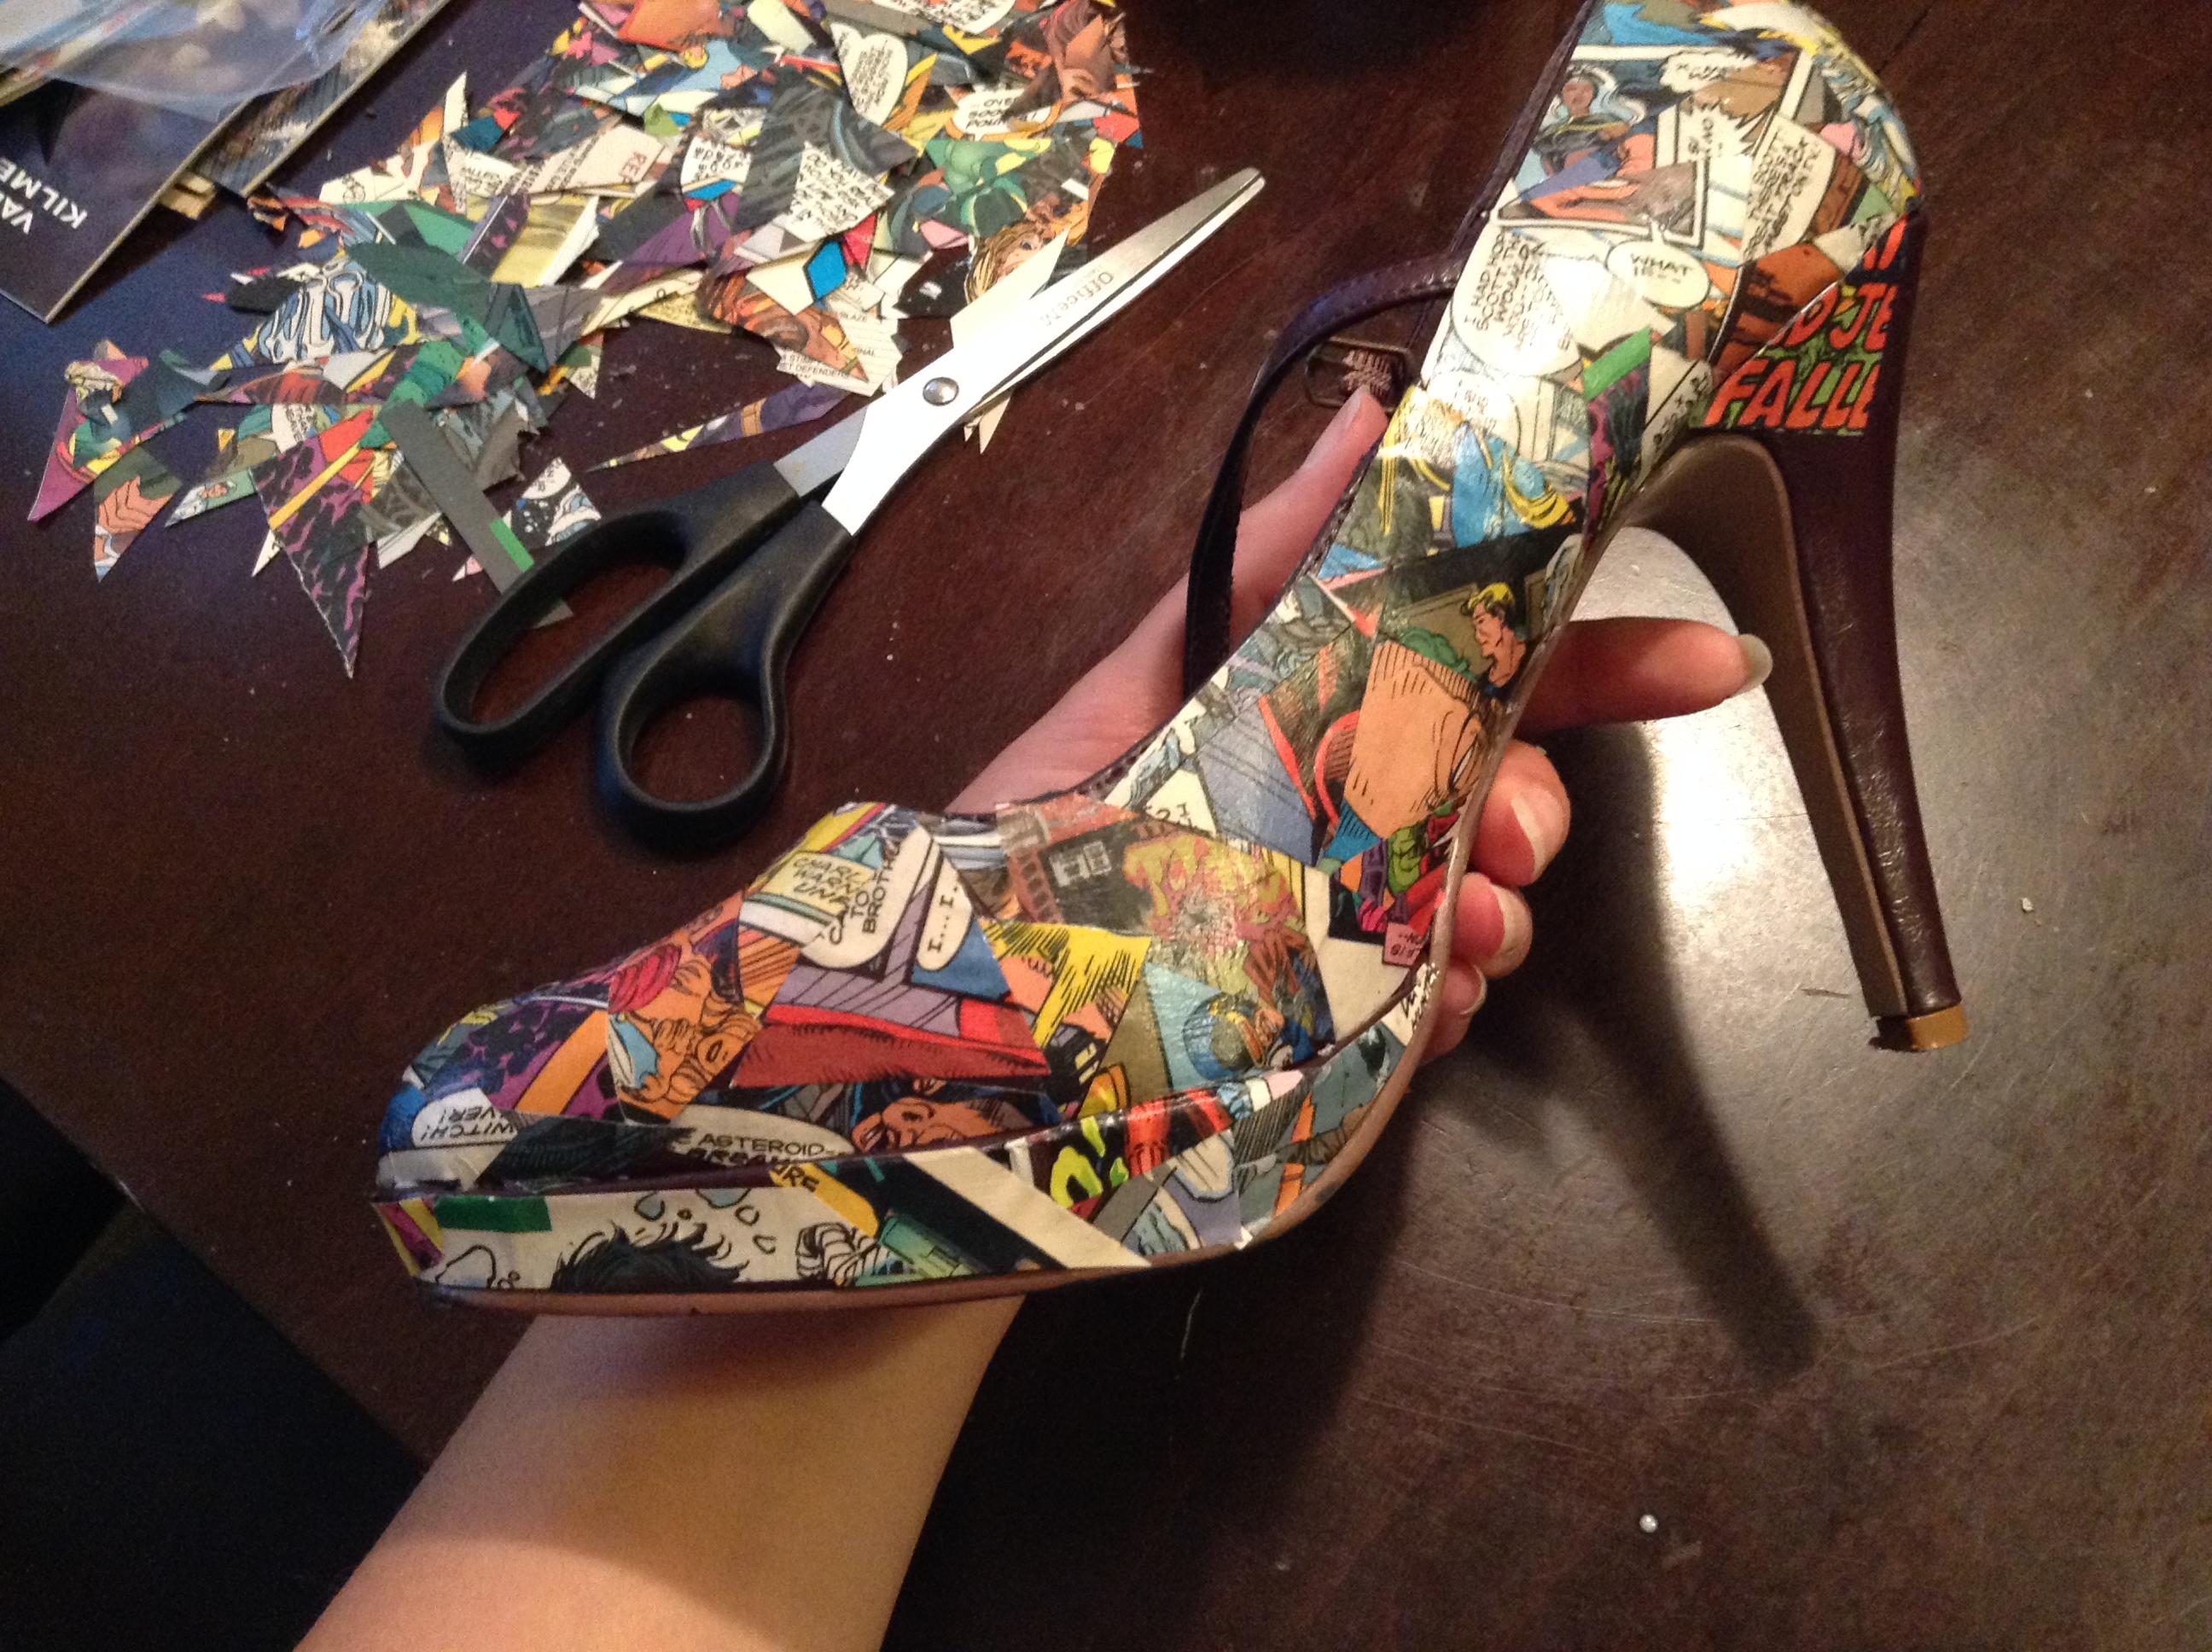 Once the shoe is comiced, apply a thick even coat of Modge Podge over the shoe, and allow to dry. I waited 24 hours. Once it is completely dry, add your focal shapes, and apply another coat of Modge Podge. Repeat Modge Podge application a couple more times.
*Optional step*- If you would like to glitter your shoes, you would do so after the 2nd coat of Modge Podge. I mixed my preferred color of glitter with glitter adhesive (Modge Podge will also work). Apply a few coats on desired areas, using a fine paint brush, allowing it to dry completely in between coats to avoid clumping.
Step four- Use the fine steal wool to sand your shoes down, and even out overlays. Buff it with a nail buffer to smooth out any brush strokes and give it a nice sheen. I choose to spray a last coat of luster Modge Podge to my shoes. I want these babies to last as long as possible.

For you visual learners, this Youtube video by MADCOLLECTIVE is tops!
Have a Craft Day!
